It’s Not All In The Clay, Master Potter!
Starting At The Beginning
Tonight’s your first clay class.You’ve seen wonderful creations on exhibit at the craft shows you attended recently. You want to be one of those artists. You want to be able to produce exquisite masterpieces on a par with those you saw on display.
Of course, you were thrilled when one of the potters told you they also offer classes. So, here you are, waiting nervously for the bell to ring, so to speak. Time for your first lesson.
Harry’s School of Potters
So let’s get started, Master Potter! The pottery novice needs to have a few things under their belt before ascending the lofty (and somewhat dizzying) heights of Olympus. Seriously, it’s not as bad as that. Confidence in what can be achieved grows as new potters learn each basic skill.
Sure, the teacher will demonstrate the basic throwing forms, the cylinder being the most important and usually the first taught. Being able to accomplish the first form will be a problem, however, until the student becomes proficient at centering the lifeless blob of clay before them. Good news, you don’t need to chant a mantra to master this skill.
When I started playing with mud – I’m no impresario by any means – it wasn’t driven home that centering is the most important skill to accomplish before proceeding much further. Imagine my dismay when I returned to the studio after a five-year hiatus and found I couldn’t even throw a cup. After spending time learning to center said blob, I found that the basic forms were easier to relearn. It also became a crucial turning point in my development as an artist, or so I call myself.
The Right Tool For The Right Job
Or, A Clean One Anyway
You’ve worked hard to become familiar with the basic forms and skills and now you’re ready to move on to that Rembrandt. Unfortunately, you’ve got to cool your heels a bit longer. See all those greenware pieces sitting on the shelf? You’ve got to finish them for the next step. That means trimming; and, trimming means tools.
Usually, in a classroom situation, there are tools provided for common use. Tools only serve the wielder well if they are treated well. When using shared tools, clean them before putting them back. Someone else has to use them after you. No one likes to clean up after fellow students before they can start on their own projects. It’s also common courtesy to clean your work space after you’ve used it.
The Not So Fun Part
For my own personal tools, not only do I clean them, I employ a wood preservative, Bee’s Oil from Holland Bowl Mill. Don’t worry, it doesn’t make them slippery when they are wet. I apply the product to the tools with wood components (on the wood surfaces only) and lay them in the sun for better absorption.
Wood surfaces that have been treated with a coated finish of some sort don’t benefit as much from this process as those which have only been painted or stained. Tools I’ve had for many years are still functional because of this practice. I can then add to my collection of implements more often as a result.
Cleaning tools immediately after the job reduces corrosion of metal parts, thus preserving the life of the tool. While you have the cleaning bug, don’t forget to clean the space you occupied. Someone will most likely come along after you and shouldn’t have to clean up before they can get to work on their projects.

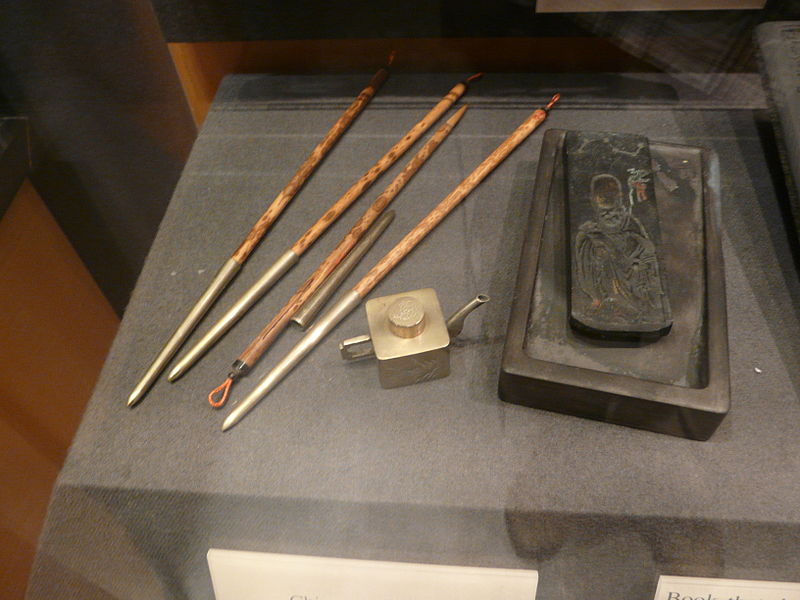
Image From Wikimedia Commons, by Piotrus Robert C. Williams Paper Museum Chinese writing set
Hang In There Baby
Don’t Quit Now
What with your tools in order now and the basics down, I bet you’re ready for that awe-inspiring objet d’art. One thing you’ve demonstrated to this point is persistence. Perseverance and persistence are a mark of the serious artist (or hobbyist). The serious artist or hobbyist continues to learn and seek challenges in their efforts. Periodically, I spend time just reviewing the forms and basic techniques.
The process isn’t unlike a musician’s running through scales at the start of practice. Time to pat yourself on the back. You’ve stayed with it this far along, you’re to be commended. The best part is yet to come. Once your item comes out of the first kiln firing, you’ll need to prepare it for glazing. Your instructor will show you how the various glazes the studio provides are best applied. The glazing and final firing are the next stage.
The View Through An Unclear Lens
Breaking The Nit-Picking Shackles
Once your first piece is complete, you’ll be amazed at how much you treasure it. Many of my first pieces still sit on shelves at home or are still in use. Appreciating the items you make, your masterpieces, will help you to put criticism of subsequent efforts into perspective. Not only will tempering your own self-evaluation become easier, you’ll be able to recognize when your expectations of completed work aren’t realistic.
With this clarity in assessment, your creative juices will flow more freely and you’ll welcome new techniques and projects and enjoy experimenting with your own ideas. The final lesson you’ll learn and should keep in the forefront of your mind, is that the masterpiece is not in the clay, it’s in you.
Pottery is a part of my life which provides balance. I talk more about my endeavors with clay on HubPages, Nuthin’ Like Playin’ in the Mud is one of the articles you’ll find there.
————
Other Resources
ABOUT THE AUTHOR
cad drawings free download


