

My ‘new’ bathroom with no budget.
I have to admit that my bathroom was a complete embarrassment. It’s extremely tiny and dates from 1949. In the intervening years, someone had added a rather horrible, cheap wood vanity (which I had NO money to replace) and a completely out-of-period acrylic sink (ditto).
Other than that, it has original fittings — so therefore they are somewhat old, to say the least. It’s one of those mid-century yellow and black tiled bathrooms (you know the sort I mean) and one day,I hope to restore it to its former glory but for now, I needed a no-cost makeover for the room. And I needed to do it quickly.
There was even a hole in the ceiling! But a couple of hours later it looked a hundred times better just by using some (very) quick fixes. Now, I guess I should show you some ‘before’ photographs. Embarrassing. Take a deep breath, it was horrible.
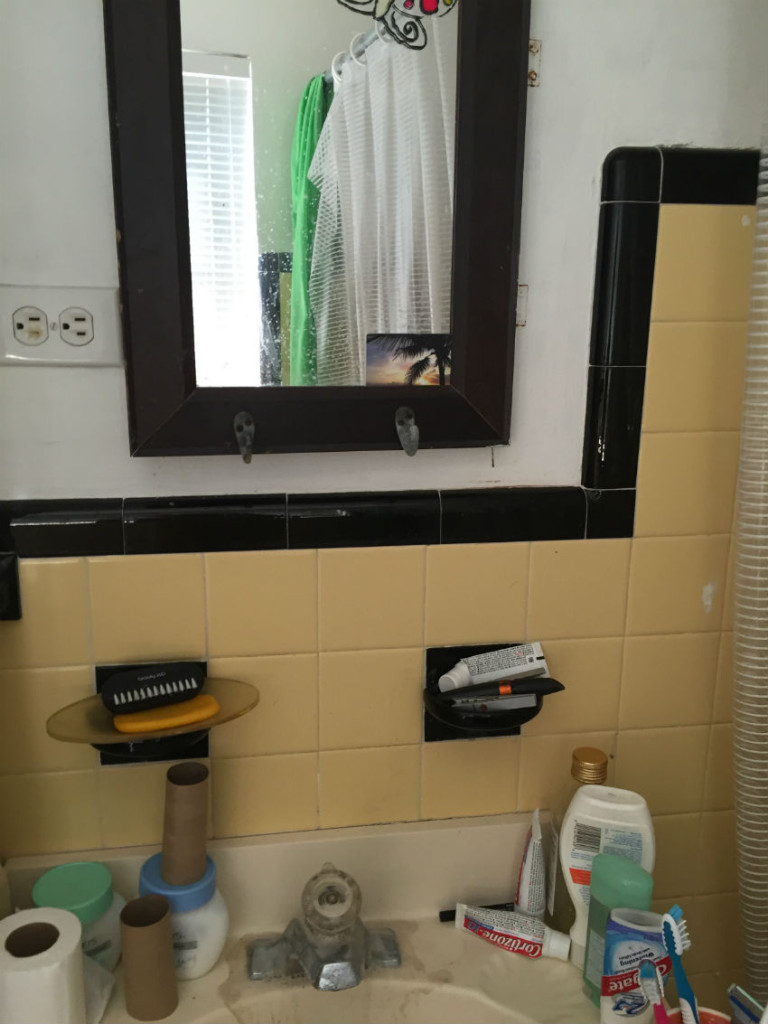
I did warn you! The problem with the nasty acrylic sink is that it has too much flat surface. This meant that clutter invariably gathered there. (Note that I had already started cleaning the tap – it wasn’t always as murky as that). Yuck, though.
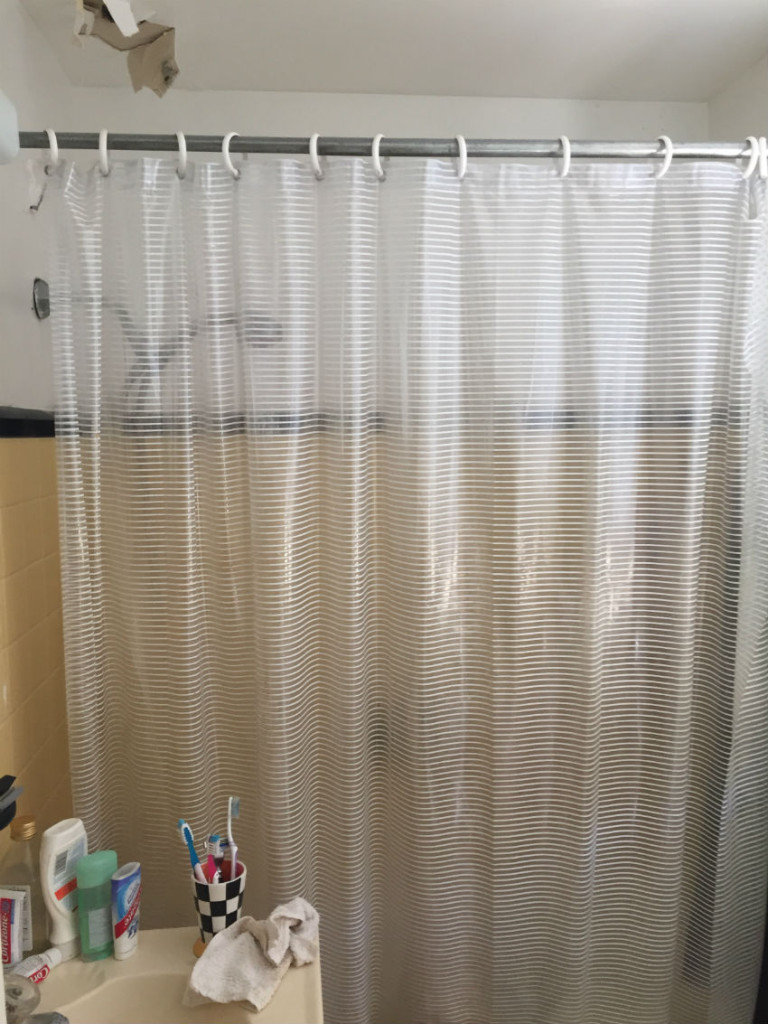
And the tub has a shower curtain that was at least ten years old and one of the holes where the rings go had torn. In this next photograph, you can even see the hole in the ceiling. (This is so embarrassing!)
First things first
The first job was to clear the bathroom of everything that was hanging around. (I put them in plastic tubs in the bedroom). Then there was a mega cleaning session. The, out came the paint. I already had a small can of black and a larger of white. So the frame of the mirror – which is also the door to the cabinet – was painted black. This included the hooks that are located on the bottom. I tried to remove those hooks but they have been there for sixty six years and wouldn’t budge.
The horrible vanity was painted white which made it seem to disappear. In the first image above, you’ll see that the hinges to the cabinet were rusty (and also couldn’t be removed) so I simply touched them up with white paint after a thorough cleaning.
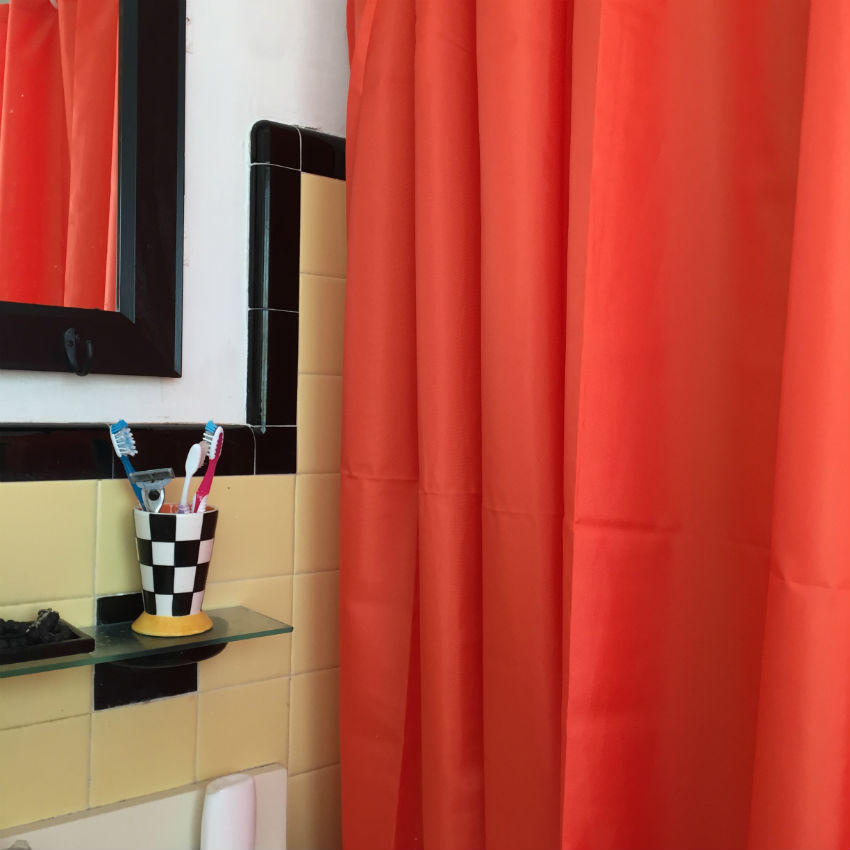
I love the original mid-century soap and toothbrush holders that are on the wall above the sink but they are so impractical and need constant cleaning. So I remembered that we had a couple of extra glass jalousie door panels and set one on top to create a shelf. This is much easier to keep clean.

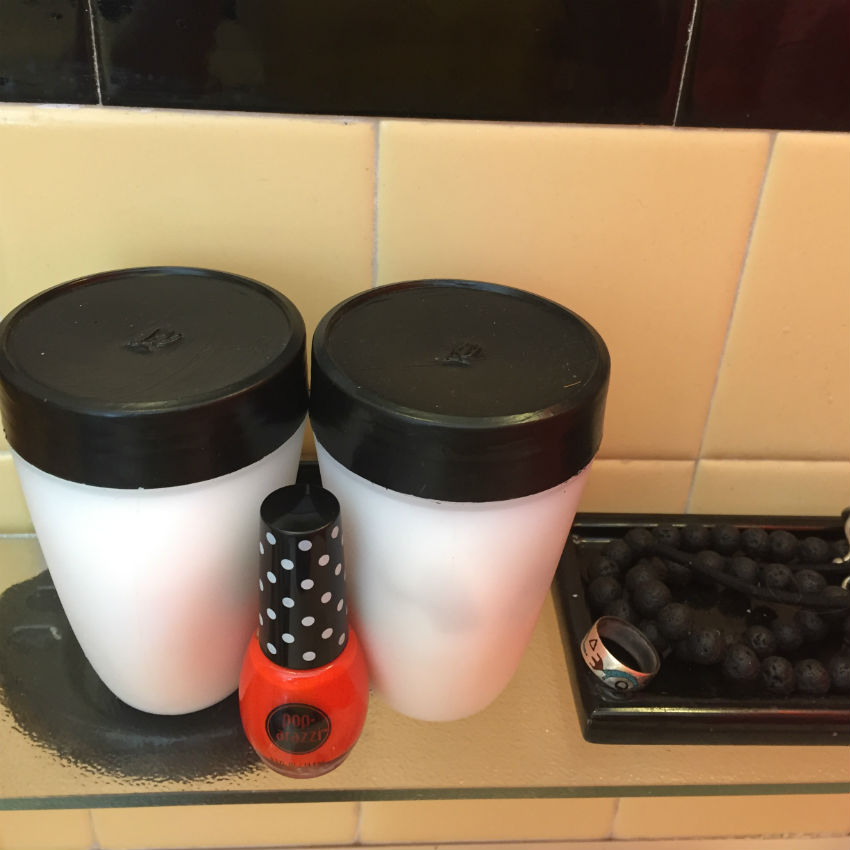
The little tray in the middle is the lid from a ceramic box – goodness knows what happened to the box. But it’s a perfect place to put jewellery, spectacles, hair ties and soon before showering.
Did you notice the simple thing that made the bathroom look so much better? I removed the labels from the cosmetic jars and painted the lids black. Because I use the same make all the time, when I buy new, I can just replace the lids they come with with the painted ones.
Now, I have to confess that everything was looking so much better so we did splash out on one purchase. This was a $9.99 shower curtain liner. There it is. It’s a liner but it looks quite luxurious.

The existing clear liner was good enough to use with it, especially after it had been put through the washing machine. And it’s amazing how well it brightened up the room.
You’ll notice that the little vase that we use for toothbrushes has an orange interior so that was our inspiration for the colour.
Instant artwork
Another problem I needed to find a solution for was the fact that the nineteen forties yellow tile had been damaged in places over the years. I suspect that previous owners had drilled holes to put up hooks or similar. The worst one of these was the very first thing your eyes would notice the minute you opened the bathroom door. The answer was some colour-coordinated (and free) instant art.
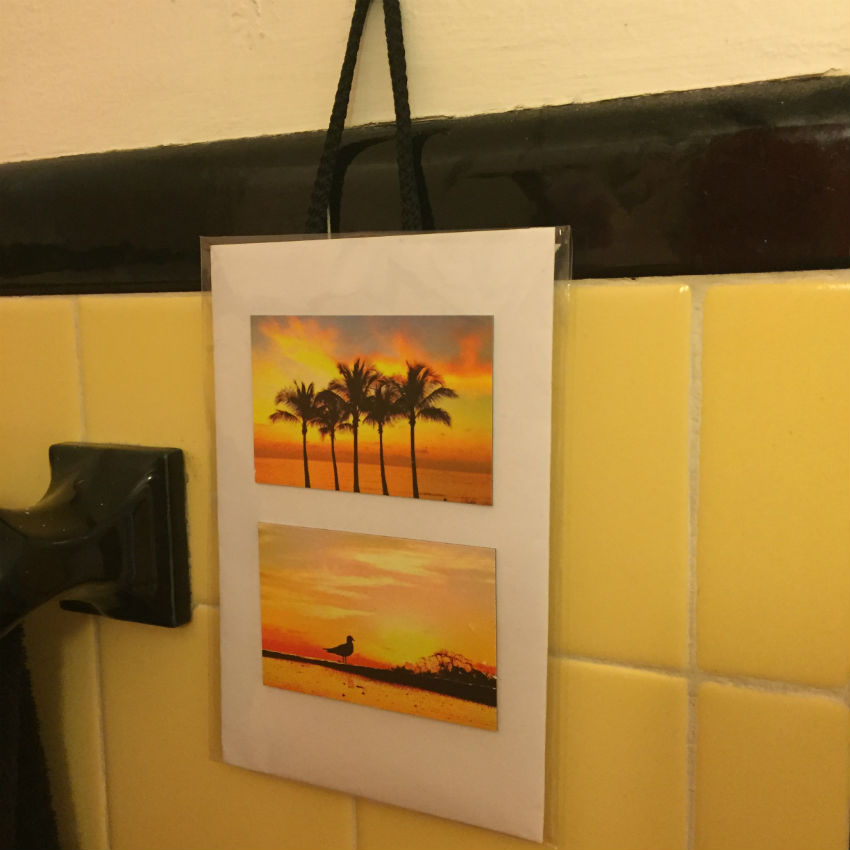
You can see how quick and easy this was to make here.
‘Shop your home’
Most of us who live in small homes know not to buy new things, if possible. There just isn’t the space. So I looked around the apartment to see what other things I had in orange to add pops of colour.
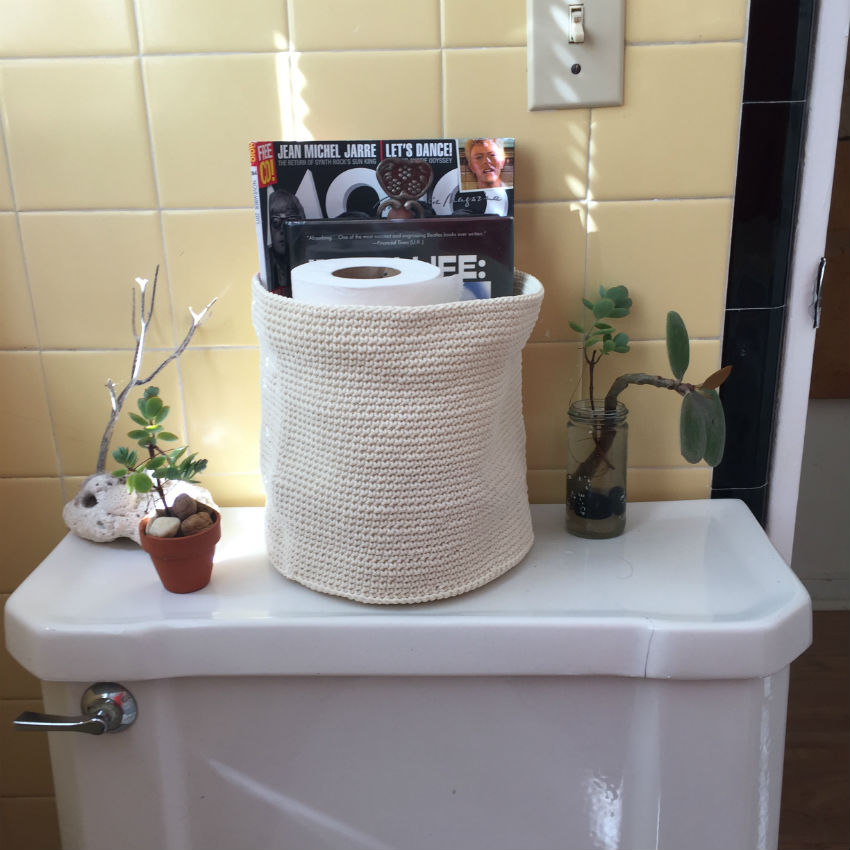
One problem we had was that we are both ‘bathroom readers’. We had a really horrible combined toilet paper holder cum magazine holder that we (him) had bought many years ago and was overflowing with old magazines and books. I chucked it out.
I made a rule of ‘one piece of reading material per person’ in the bathroom. I had an Ikea storage basket that now sits on the top of the loo – even with reading material it will still hold two spare loo rolls.
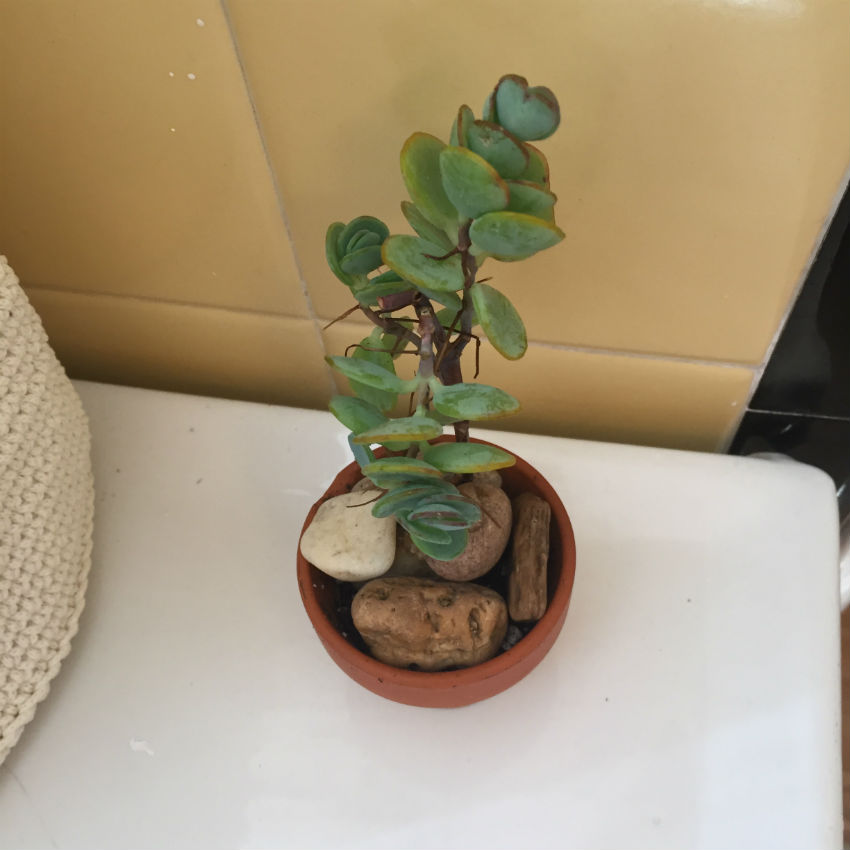
The tiny terracotta plant pot had been sitting in our shared laundry room for as long as I can remember. It seemed to belong to no-one so I decided it needed a new home. It looked perfect with a cutting taken from a succulent in the garden.
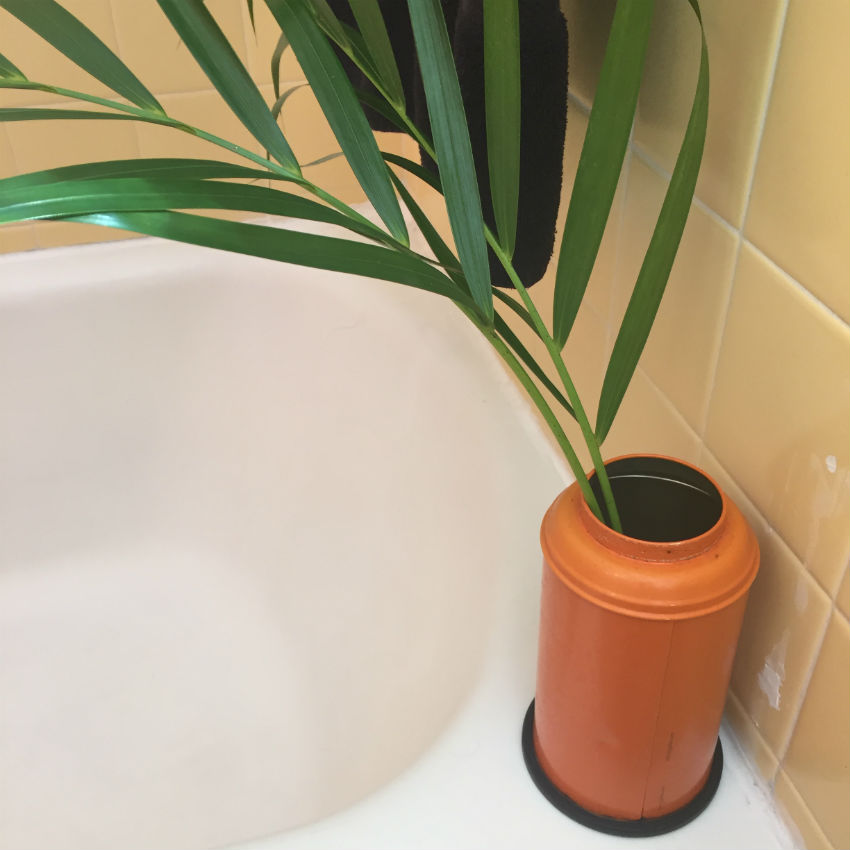
 In the pantry, I found a nicely shaped orange tea caddy. It had a couple of spoonful of loose tea in it, that’s all, so I brewed myself a pot of tea —
A two minute walk into the garden provided me with a couple of palm fronds to go into my ‘new’ tea caddy vase that sits on the top edge of the bathtub.
This led to my new mini-greenhouse — the south facing small window-ledge. I’ve now got plenty of other cutting in there. Some are in plastic milk bottles (himself disapproves of glass in the bathroom — probably quite rightly) and others are in some cute black, white and orange bowls I had that were too cracked to use for cornflakes any more but that I’d been saving for when ‘they’d come in handy one day’.

The goal is to grow plenty of plants there (at no cost, from cuttings) so that I can have the blind more or less open letting the sunlight into the bathroom but with the plants providing a privacy screen.
Oh, that hole in the ceiling? A massive cheat — I taped it up with plenty of duct tape and painted over it. It’s not noticeable now. Certainly it’s a fix that won’t last forever but it’s lasted two months already and if I have to re-do it every six months, that’s fine. It’s only a ten minute job.
I love my ‘new’ bathroom 🙂
ABOUT THE AUTHOR
